How to Build an AI Mobile App With Stitch, Antigravity, Flutter, and Gemini
Build CookSmart from one prompt using Stitch MCP, Antigravity, Flutter, and Gemini, then package it as an Android APK and test it on a real phone.
This is a real app running on my actual phone. I typed in the ingredients I had at home, hit Generate Recipe, and AI created a complete recipe for me in seconds, with the ingredients, steps, cooking time, and everything.
I built this without writing a single line of code. If you watched my last video, you already know how to build apps using Stitch and Antigravity. A lot of you tried it, and it worked. But there was one thing that was honestly really annoying about that method. This whole guide is about fixing it.
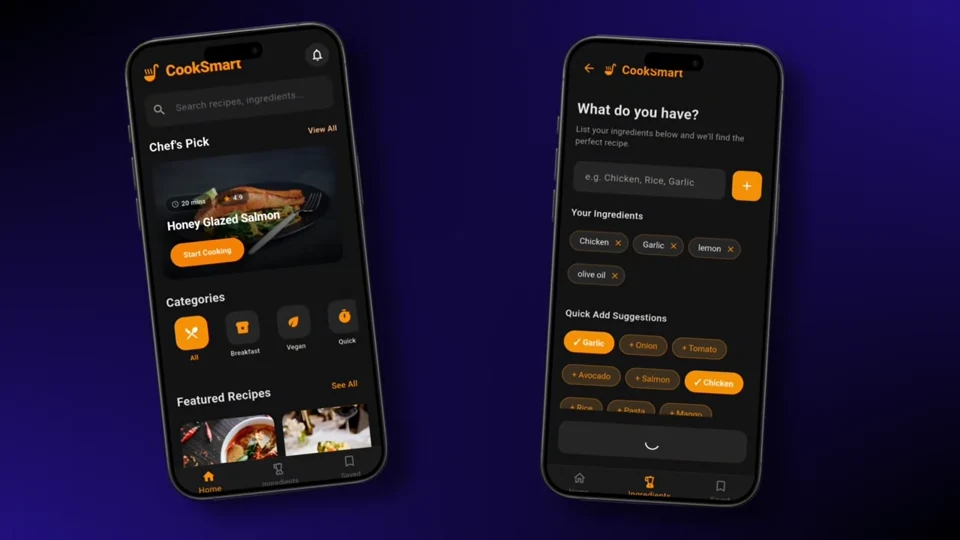
By the end, you are going to have a fully working AI-powered mobile app installed on your phone. The process is genuinely different from anything I have shown before.
Why I connected Antigravity directly to Stitch
In my last video, the process was: design in Stitch, export a ZIP file, import it into Antigravity, and build the app. Simple enough. But every time you want to update your design, you have to go back to Stitch, make the change, export the ZIP again, re-import it, and start the whole thing over.
Back and forth, every single time. I kept thinking, why cannot Antigravity just talk to Stitch directly? Why do I have to be the middleman?
It turns out it can. The thing that makes it possible is called MCP, and that is exactly what we are setting up. MCP stands for Model Context Protocol. Basically, it lets Antigravity connect to other tools directly and control them. If you want another example of how this connection layer works, I have also covered MCP integrations in Claude and ChatGPT.
Instead of going to Stitch, designing something, exporting it, and importing it manually, Antigravity can do that itself. The stack is Stitch MCP for design, Antigravity for building, Flutter for packaging, and Gemini for the AI feature.
Step 1: Create a Stitch API key
The first thing we need is a Stitch API key. This is the key that lets Antigravity access your Stitch account.
- Go to stitch.withgoogle.com and sign in with your Google account.
- Click your profile picture in the top-right corner.
- Click Stitch settings.
- Scroll to the API key section and click Create key.
- Copy it and save it somewhere safe.
This whole step takes about one minute.
Step 2: Install Stitch MCP in Antigravity
Open Antigravity on your computer. Once you are in, click the three dots at the top, go to MCP servers, and search for Stitch.
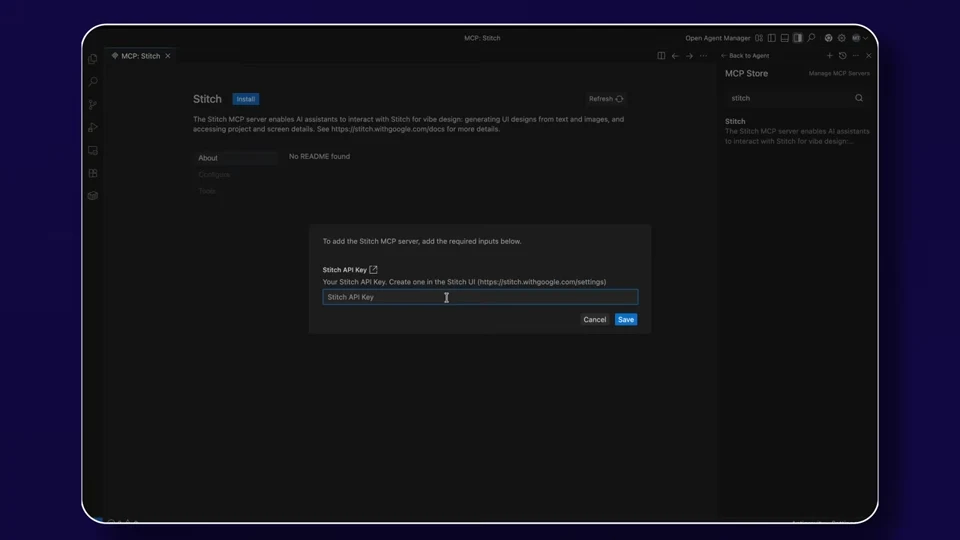
Click Install. When it asks for your API key, paste the one you copied from Stitch. Stitch MCP is now connected and active.
This is the moment where everything changes compared with my last video. Antigravity now has direct access to your Stitch account. It can create projects, generate screens, and fetch designs by itself. You do not have to touch Stitch. There is no more manual exporting or back and forth. Your agent handles everything. I used Antigravity in a different workflow for my AI lead-generation system with Hermes Agent.
Step 3: Install the Stitch skills
A lot of people skip this step because it sounds optional. Please do not skip it. We need to install the Stitch skills.
Think of skills as extra training you give Antigravity. It knows Stitch exists, but with skills it knows how to use Stitch properly, create multi-screen app flows, maintain a consistent design, and use the Stitch Loop skill that builds the entire app from one prompt.
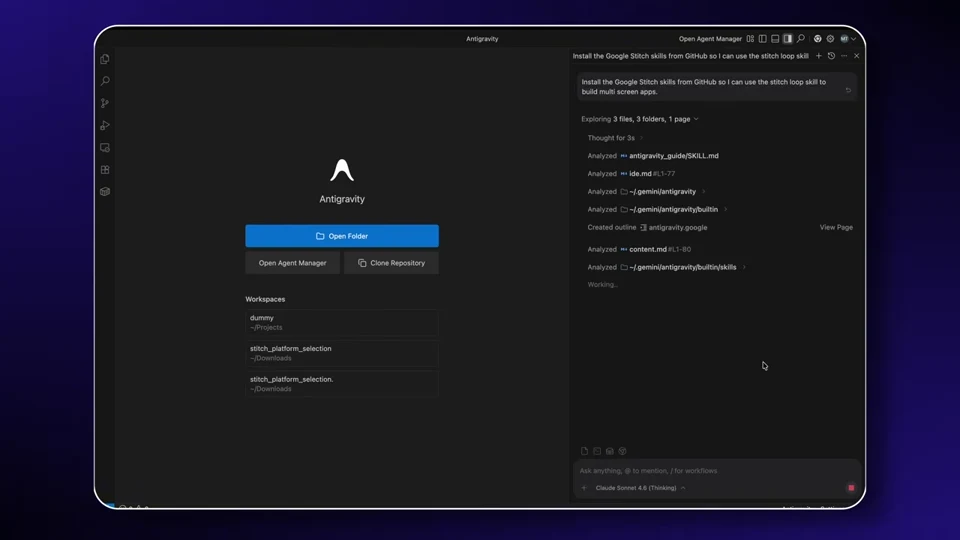
Paste this into the Antigravity chat:
Install the Google Stitch skills from GitHub so I can use the Stitch Loop skill to build multi-screen apps.It reads the skill documentation, finds the GitHub repository, runs the installation command, and installs the skills one by one. You might see two failures for Eve and prompt-script agents. Those two do not support global skills. Antigravity is still set up for what we need.
Step 4: Install Flutter MCP
Go back to MCP servers in Antigravity and search for Dart. Flutter converts the app designs into native code that runs on your phone, and Dart is the programming language Flutter uses. You do not need to know that language for this process.
Click Install on the Dart MCP server. You might see an error saying Flutter was not found in its path. This happened to me, and I genuinely panicked for a second. It sounds scary, but it is not.
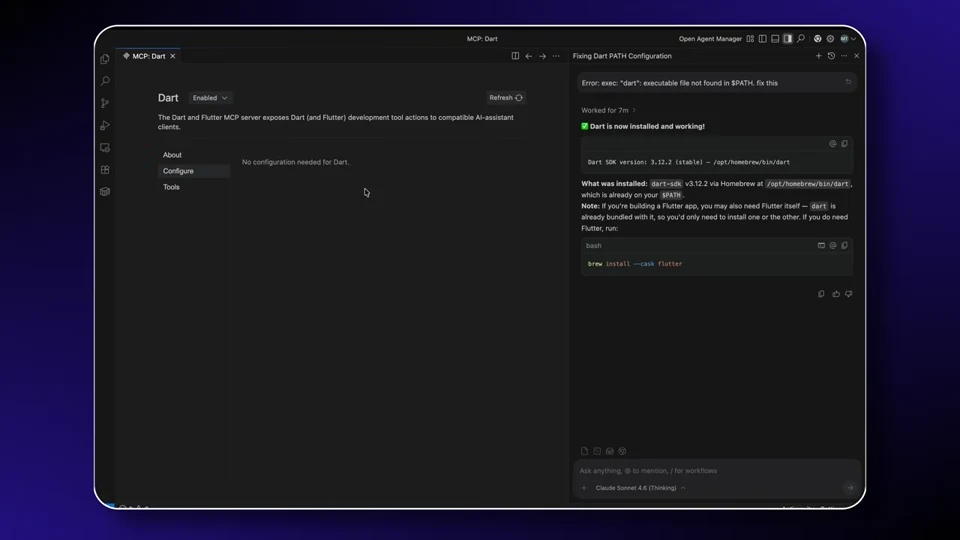
Type fix this in the chat. Antigravity found the Flutter installation and updated the path for me. Run the Flutter installation too if needed, then restart Antigravity. You should see Flutter MCP confirmed with its available actions, including build, hot reload, and hot restart.
That is the complete setup: Stitch MCP connected, Stitch skills installed, and Flutter MCP active.
Step 5: Build the CookSmart screens
The app we are building is called CookSmart. It is an AI recipe generator. You add the ingredients you have at home, hit Generate Recipe, and Gemini creates a complete recipe for you. It has four screens, a dark design, and a real AI feature.
We are starting with one prompt:
Can you build me a four-screen mobile app called CookSmart using the Stitch Loop skill?

Screen one is the home screen with featured recipes, food categories, and a search bar.

Screen two is the ingredient input screen where the user types ingredients and hits Generate Recipe.

Screen three is the recipe result screen with the recipe name, ingredients list, step-by-step cooking instructions, and a save button.

Screen four is the saved recipes grid.

Use a dark background with warm orange and white accents and a clean mobile design. Make sure navigation works between all screens.
At this stage, Antigravity is not building the Flutter app yet. It is using the Stitch Loop skill to connect directly to Stitch and generate all four UI screens automatically.
First, it creates a design system with colors, typography, and button styles. Then it generates the home screen, ingredient-input screen, recipe-result screen, and saved-recipes grid.
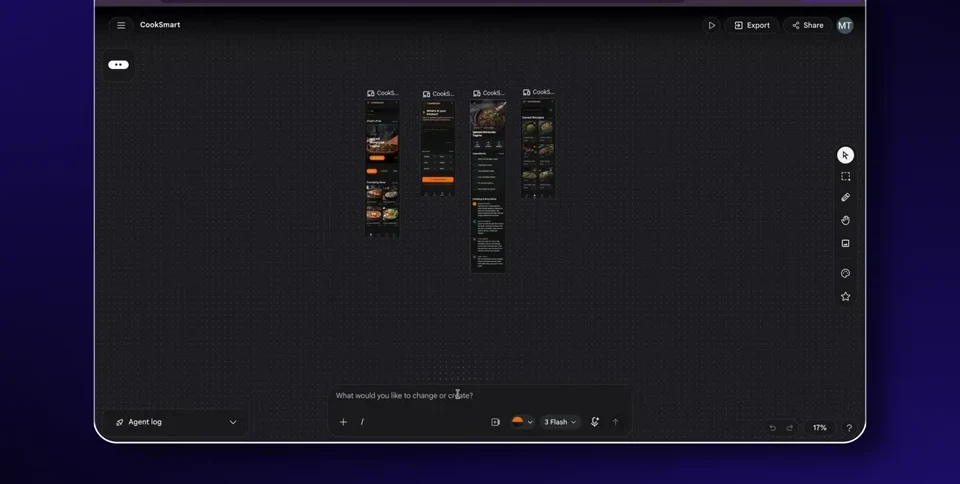
In the project folder, you can see the generated HTML files for the home screen, ingredient input, recipe result, and saved recipes. If you open your Stitch account, all four complete screens are sitting inside the project, generated by your agent without you going into Stitch yourself.
This is honestly one of those moments where you stop and think, this is actually insane.
Convert the designs into a Flutter application
Now paste the second prompt:
Can you take these mobile app designs and turn them into a working Flutter application? Make sure navigation works between screens and it matches the design exactly. Then run it locally so I can test it.Antigravity takes the HTML design screens and converts them into a complete Flutter application with Dart files, project structure, and navigation.
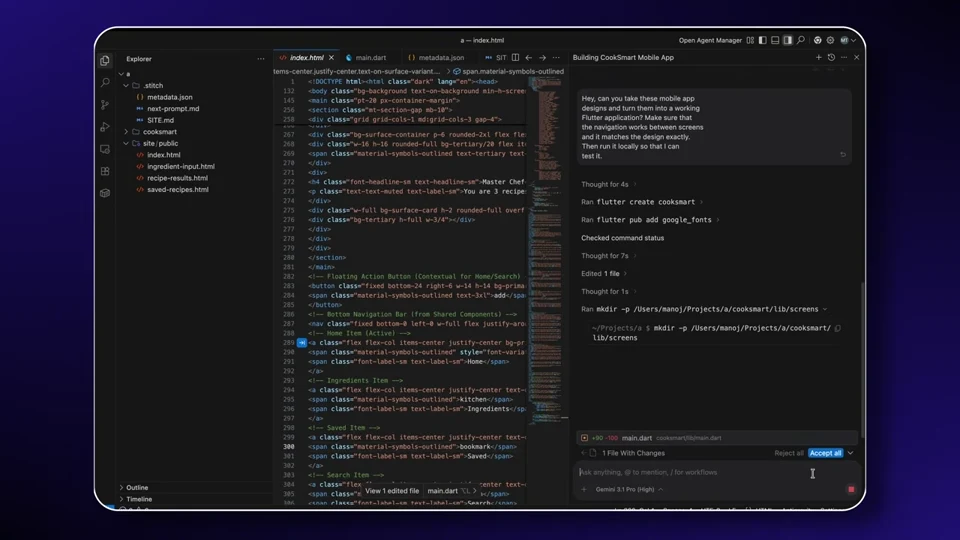
You can watch it create main.dart, the home screen, ingredient input, recipe results, and saved recipes. Depending on your computer, this might take a few minutes. Mine paused twice. If that happens, type continue in the chat, and it picks up again.
CookSmart then runs as a real Flutter application in an iPhone 14 Pro Max view. The home screen has the CookSmart logo, a chef icon, a featured recipe, food categories, cooking times, and difficulty levels. On the ingredient screen, ingredients appear as removable chips, with quick-add suggestions such as garlic, onion, tomato, avocado, and chicken. The saved-recipes screen has a clean empty state, and navigation works across all four screens.
Step 6: Add the Gemini AI feature
The Generate Recipe button exists, but it is not connected to anything yet. We are going to connect it to Gemini so it generates recipes based on the ingredients a user adds.
Go to Google AI Studio's API key page, sign in, and create an API key. Copy the key and keep it private.
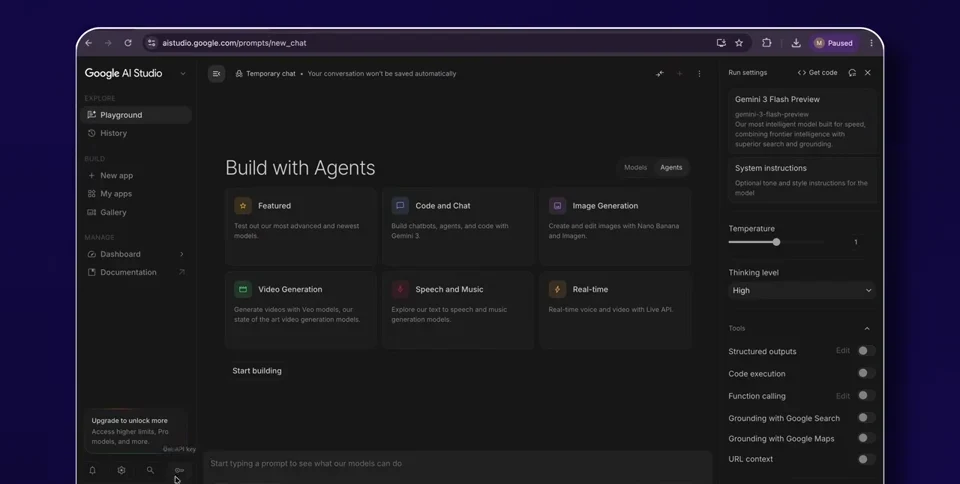
Paste this into Antigravity:
Connect the Generate Recipe button to the Gemini API. When the user adds ingredients and hits Generate Recipe, call Gemini and generate a unique recipe based on those ingredients.

Show the AI-generated recipe name, full ingredients list with quantities, numbered step-by-step cooking instructions, cooking time, and servings on the recipe-results screen.

Handle the loading state while generating and show a friendly error message if it fails.
When I tested the Generate Recipe button in the browser preview, I saw the message, “Failed to generate recipe. Please try again.” My first reaction was, “Something is broken. Did I mess up the API key?”
In my test, the feature worked when I installed the Android APK even though it failed in the browser preview. Do not assume the recipe-generation code is broken from that preview result alone. Keep the API key private and verify the integration in the environment where you plan to run it.
Step 7: Prepare the project for Android Studio
Now we need to get CookSmart onto a real phone. Paste this into Antigravity:
Prepare the CookSmart Flutter project folder so it is ready to open in Android Studio and build as an Android APK. Make sure all dependencies are configured, the Gemini API integration is included, and the project structure is clean and ready to build.Antigravity organizes the dependencies, Gradle configuration, and project structure for Android Studio. Open Android Studio, click Open, select the CookSmart project folder, and let it sync.
The first sync takes a couple of minutes because Android Studio downloads the build tools it needs. If you see an error, do not close Android Studio. Copy the error message, paste it into Antigravity, and let it tell you how to fix it.
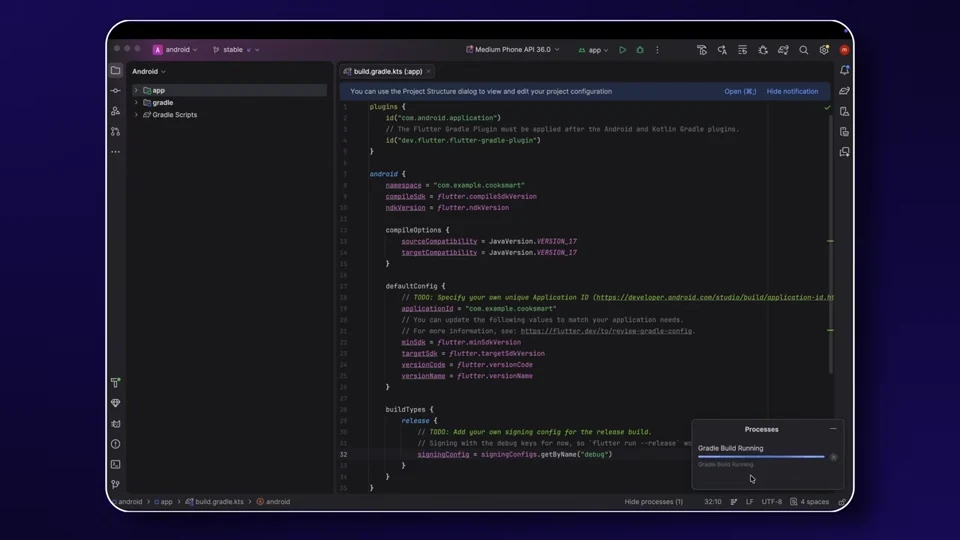
When the sync finishes, use the Build menu to generate the APK. Android Studio compiles and packages CookSmart into an Android APK. Mine took about two to three minutes. When the build succeeds, click the locate link in the notification to find the APK on your computer.
Step 8: Install and test CookSmart on a phone
Send the APK to your Android phone. You can email it to yourself or send it through WhatsApp. Open the file, allow installation from that source if Android asks, and tap Install.
CookSmart is now installed on the phone as a real app. The dark theme looks incredible on mobile, the orange accents pop, and everything is smooth and responsive.
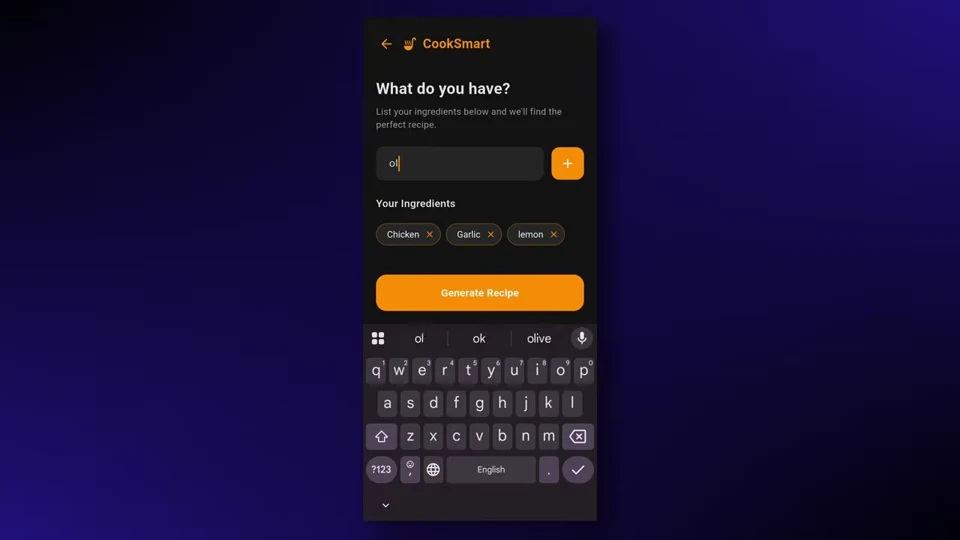
I added chicken, garlic, lemon, and olive oil, then hit Generate Recipe. It worked. Gemini generated lemon garlic chicken with the full ingredient list, quantities, numbered cooking steps, cooking time, and servings.
I saved the recipe, and it appeared on the saved-recipes screen. CookSmart was working end to end: add ingredients, generate with AI, and save your favourites. This is a complete working app.
Step 9: Prepare the app for Google Play and the App Store
When you are ready to submit to Google Play, do not use the APK we built for direct phone testing. Go back to Android Studio and build an Android App Bundle. New Google Play apps are published using the app-bundle format.
Go to Google Play Console, create your app, fill in the details, upload the app bundle, add screenshots and a description, and submit it for review. The Google Play developer account has a one-time registration fee of US$25.
For the Apple App Store, go to App Store Connect, create an app record, fill in the app details, upload the iOS build, and submit it for review. Apple Developer Program membership is US$99 per year.
You will also need the required store information, including a privacy policy, before submission.

Shubho Dey
Founder, Indish Marketer
Shubho runs Indish Marketer, building automation and AI agent systems for coaches, consultants, and service providers. He writes about the tools and workflows he builds and uses himself.