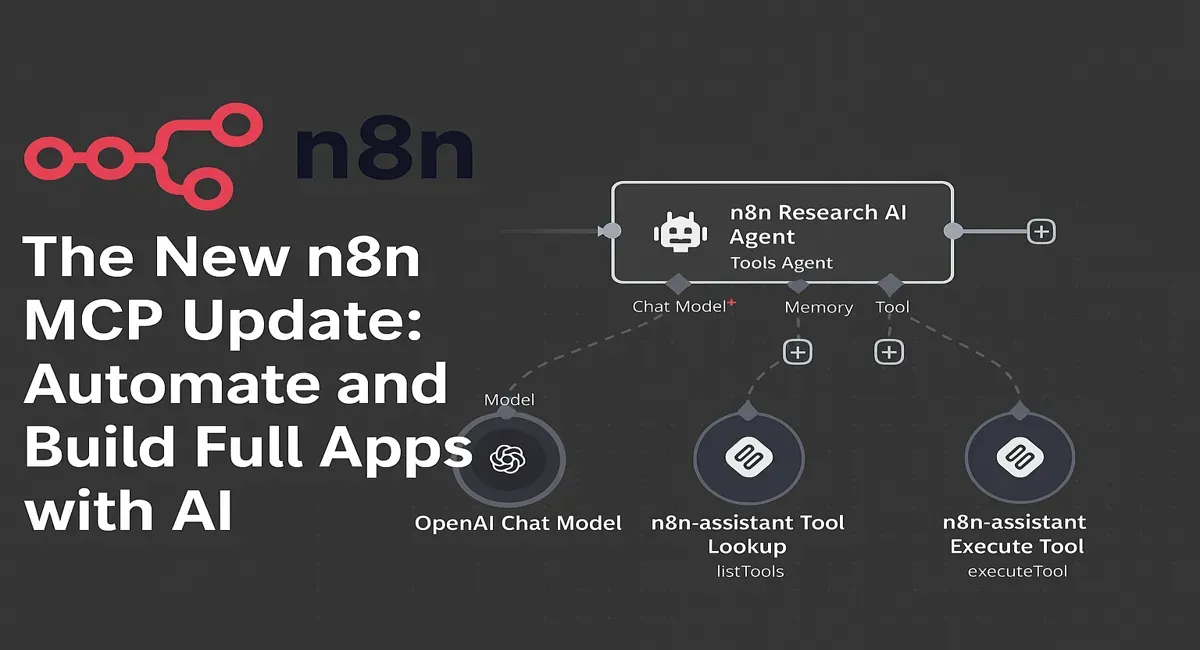
The New n8n MCP Update: Automate and Build Full Apps with AI

This n8n update is just crazy. You can build a workflow that works perfectly, but what happens when your client asks, “Where do I use this? I need buttons. I need a website.”
Now, AI tools can actually look inside your workflow and automatically build a complete website for you.
I just made a trip planner using n8n as the backend and Lovable as the frontend.
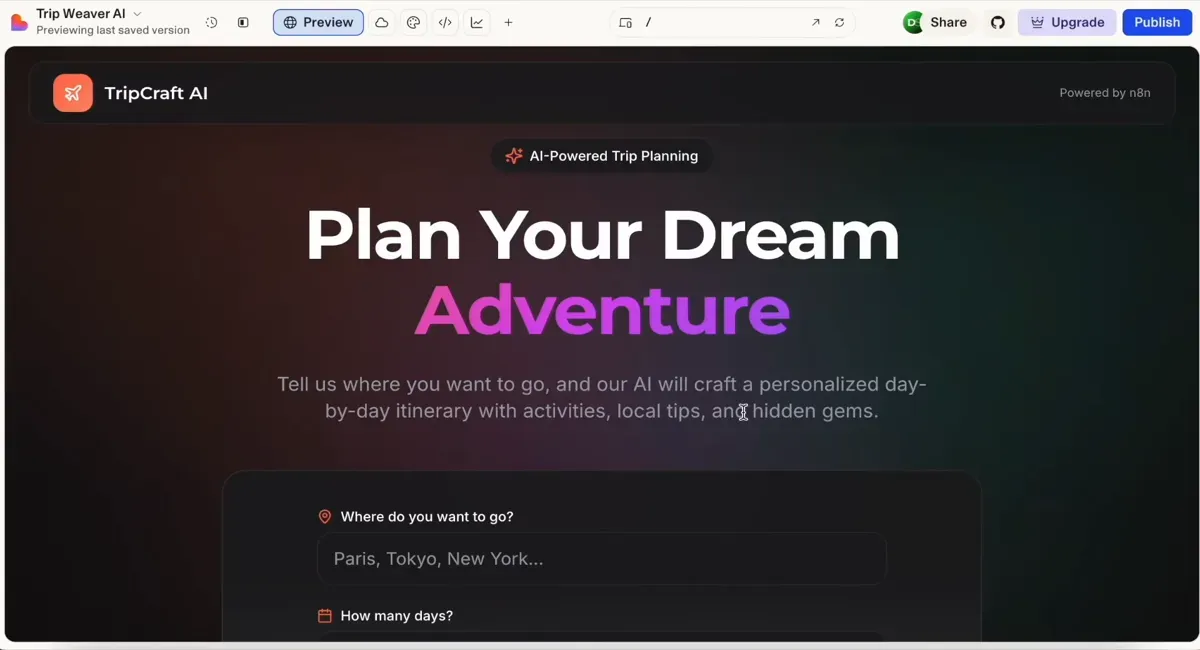
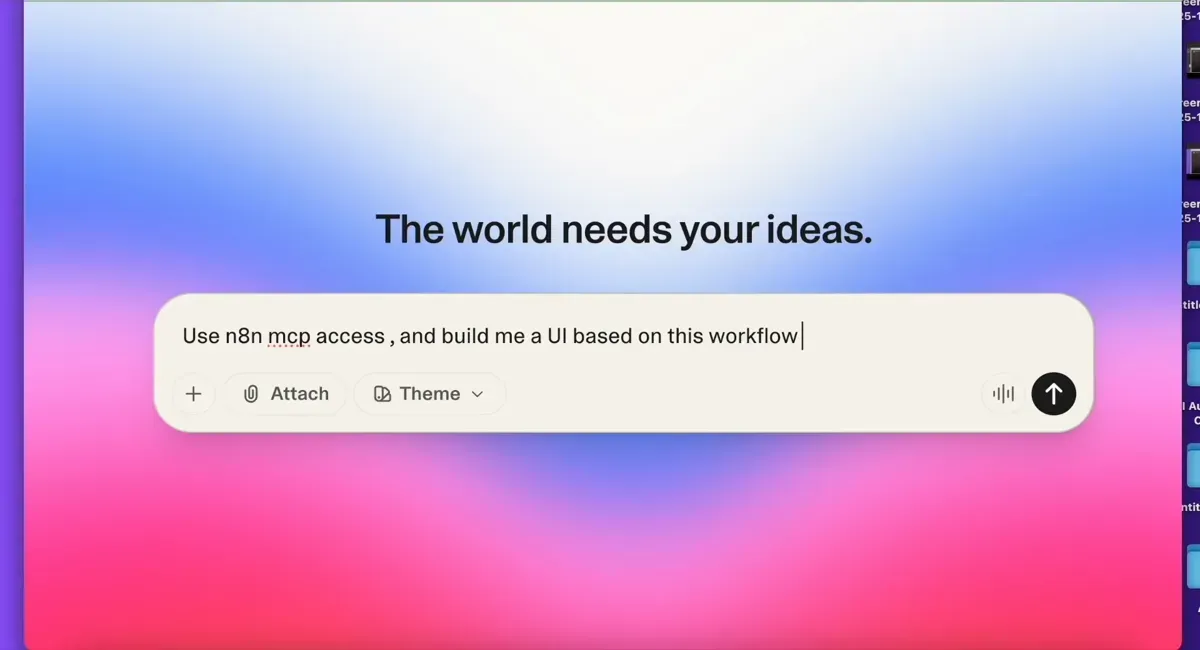
To build it, I went to Lovable and said, “Build me a UI based on this workflow: AI Trip Planner.”
Lovable read my workflow, figured out what was needed, and generated the entire interface: forms, buttons, everything.
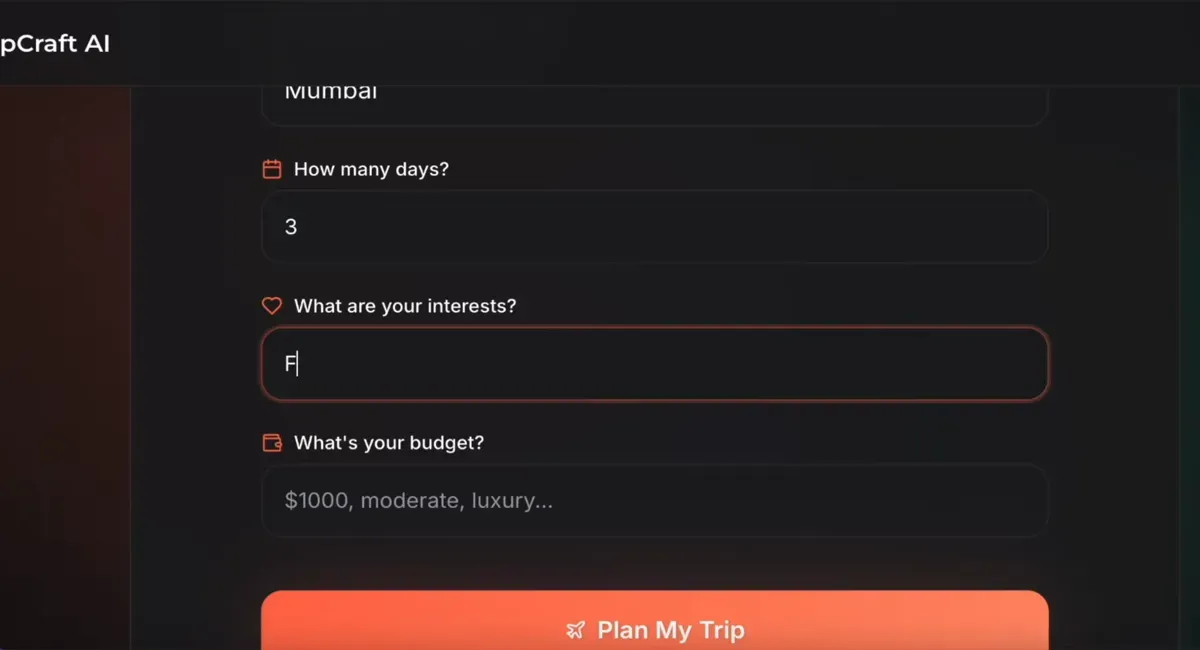
In the form Lovable created, I typed: “I want to go to Mumbai for 3 days, and I'm a food lover on a budget.”
It generated a complete day-by-day trip plan, including costs and local phrases. The whole thing took about five minutes. No coding. No developer. Now you can sell complete apps, not just automations.
This is the real deal. n8n’s new MCP access lets AI tools interact directly with its workflows, so you don’t have to connect anything manually.
I’ll show you exactly how it works... but first, you need to understand what an MCP is.
Understanding MCP (Model Context Protocol)
So let us now understand how MCP works. Consider an example. Imagine there is a locked box, and your workflow is inside it. Since the box is locked from the outside, no external tool can see what is happening inside unless it has a special key.
This is where MCP comes in. MCP provides a window (a special key) that allows other AI tools to see what is going on inside. These tools clearly show which data is coming in, which is going out, and how the workflow is connected. They can see everything.
So when you connect tools like Lovable or Abacus AI Deepagent, the AI app builders, or Claude, you no longer have to explain the workflow you created. In my case, I built this workflow, and the tool automatically understands it. We do not have to teach it manually.
This is the power of MCP.
Before proceeding with this guide, please read my n8n automation post, which explains in detail how to self-automate and publish workflows.
The n8n Trip Planner Workflow
This is the workflow I have built. It is essentially an AI-powered trip planner.
- Webhook Node:
First, we have a webhook node. It retrieves data using the POST method. All inputs from Lovable will be received through this POST request. - Edit Fields Node:
Next, there is an Edit Fields node. It extracts all the trip details received from the webhook. When you open it, you can see that it pulls the destination, number of days, interests, and budget. - AI Agent Node:
After this, all the extracted information is passed to an AI Agent. This is the trip planner agent. Inside this node, you can see the prompt: “You are an expert travel planner. Create a detailed day-by-day itinerary for a trip.” It uses the destination, number of days, interests, and budget from the previous node. It also includes an instruction to “create a complete itinerary with the following JSON structure.” This is the prompt I have provided. - Formatting and Response:
Returning to the canvas, you can see another node that formats the final output into a proper structure. It then sends the formatted response back to the webhook URL, which in our case is Lovable.
So Lovable sends the input, the backend logic runs in n8n, and n8n then sends the generated response back to Lovable.
Connecting n8n to Lovable via MCP
Now, let us see how to connect this n8n workflow to Lovable using MCP.
Step 1: Configuring n8n Settings
On the left-hand side of n8n, click on your profile section and then click on Settings. After opening the settings page, look for MCP Access on the left-hand menu. Click on it. You will now see an option to activate MCP. Turn it on, and you will be given a Server URL. Copy this URL, because we will need it for Lovable.
Step 2: Configuring Lovable Settings
Next, we will paste this URL into Lovable.
Open your browser, search for Lovable, and click the first link. I already have an account, so I do not need to sign up. If you are new, create an account first.
Once you are logged in, click on your profile section and then select Settings.
On the settings page, you will see Integrations on the left-hand side. Click on it.
Here you will see an option for n8n. Click Setup, then click Connect.
Lovable will now ask for the server URL. Remember the URL we copied from n8n? Paste it here and click Add Server.
A pop-up will appear asking for permission. Click Allow.
Once it is connected, close the pop-up. If you go back to n8n and reload the MCP page, you will see that Lovable is now connected.
We have successfully connected to MCP.
Optimising the Workflow for AI Detection
We will now return to our workflow. This is the workflow, and we must provide a clear description. This description is crucial because Lovable will rely on it to understand the workflow and determine the actions it should take.
In my case, I have written the following description:
"AI trip planner that generates personalized day-by-day travel itineraries. Send POST with destination, days, interest, budget, and receive complete trip plans with activities, costs, pro tips, and local phrases."
Along with the description, it is essential to assign a proper name to the workflow. In this example, the name is "AI trip planner." Let me copy this.
Activating MCP on the Node
Now we will go back to Lovable. Here, I will type, “Build me the UI for this workflow.” This refers to my workflow called AI Trip Planner that uses n8n MCP access.
Before pressing Enter, we need to complete a few steps in n8n. First, I will activate the workflow, as it will not function otherwise.
Next, we need to adjust one more setting. I will click on the workflow, open the settings, and scroll down. We need to enable a toggle. After allowing it, I will click Save.
Now, MCP is fully activated for this workflow.
Generating the App with Lovable
Now we will come back here and press enter. You will start seeing the magic. You can see that it is processing the request. It says, “I'll build a beautiful AI trip planner UI that connects to your n8n workflows. Let me first check what workflows are available via your n8n MCP integration.”
It is now checking for the workflow. I need to allow access, so I will click Allow. It begins thinking again and then says, “I found your AI trip planner workflow. It accepts destination, days, interest, and budget, and returns complete itineraries with activities, costs, tips, and local phrases.” It is now designing the frontend UI for me, so I just need to wait for a moment.
The UI has now been generated, and it looks great. For the backend connection, it is asking for permission. If I allow this, Lovable will be able to fetch details from my workflow. So I will click Allow.
The frontend part is complete, and now it is connecting to the backend. It says, “I have the webhook URL. Let me update the code to properly connect to your n8n workflow and handle the response format.”
Now we can see that the AI trip planner UI is ready and successfully connected to the n8n workflow at the provided URL.
Testing the Application
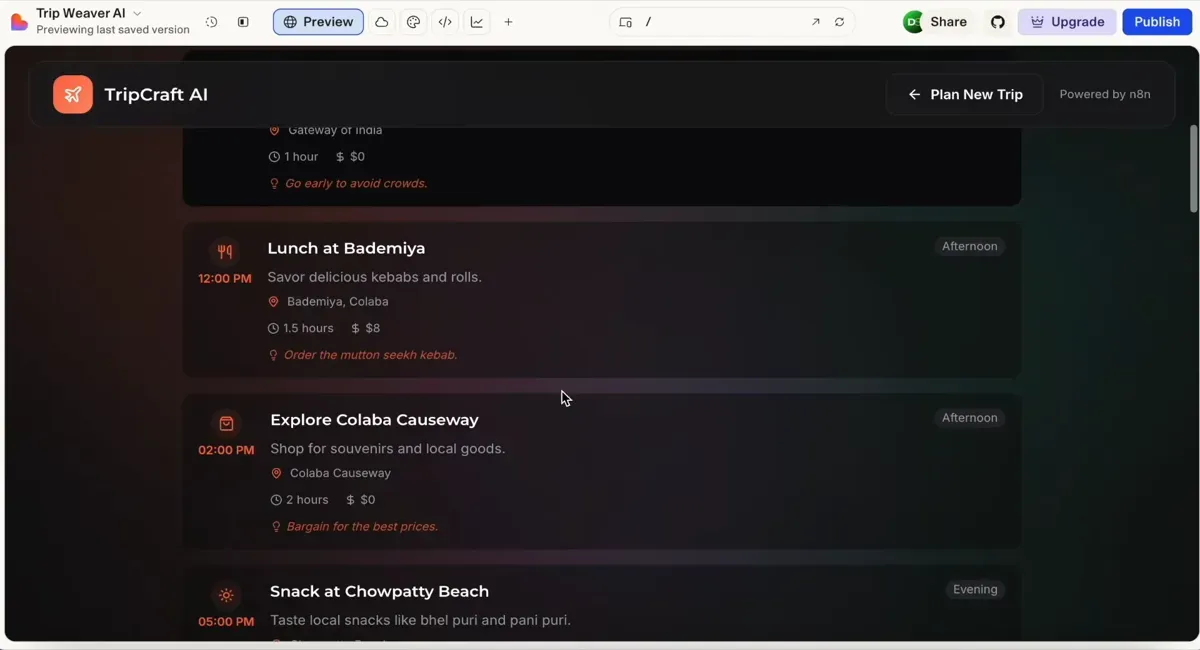
Now that this is done, we will test it and see how it works. Here I will type "Mumbai." I want to go to Mumbai for 3 days. That is fine. My interest is "food," and my budget is "luxury." Now I will click on Plan My Trip.
Let us wait for a moment. If you look at the workflow and click on Executions, you will see that it is running. We just need to wait. After about 43 seconds, it is complete.
Now we can see the full itinerary that has been generated. We have the plan for day one, day two, and day three. We also have pro tips, local phrases like "namaste" and "shukria," and packing essentials. It looks really impressive.
If we return to the workflow, we can review the details. When we click on Edit Trip Details, we can see the input: Mumbai, 3 days, food, and luxury. If we open the output, we can see the destination, days, budget, and the complete list of itinerary items. This matches exactly what we saw in the UI.
This is truly magical.
Conclusion
Earlier, this process was very complicated. You could build an automation, but it was confusing for clients to understand or interact with it. Now you can easily create a professional-looking UI and share it with your client, or even use it for yourself. You can build an app without any hassle.
You can also connect Lovable with Stripe for payments and Supabase for the database, backend, and authentication. This means you can now build a complete SaaS application using n8n MCP access.
Get the JSON file for this workflow by clicking here.