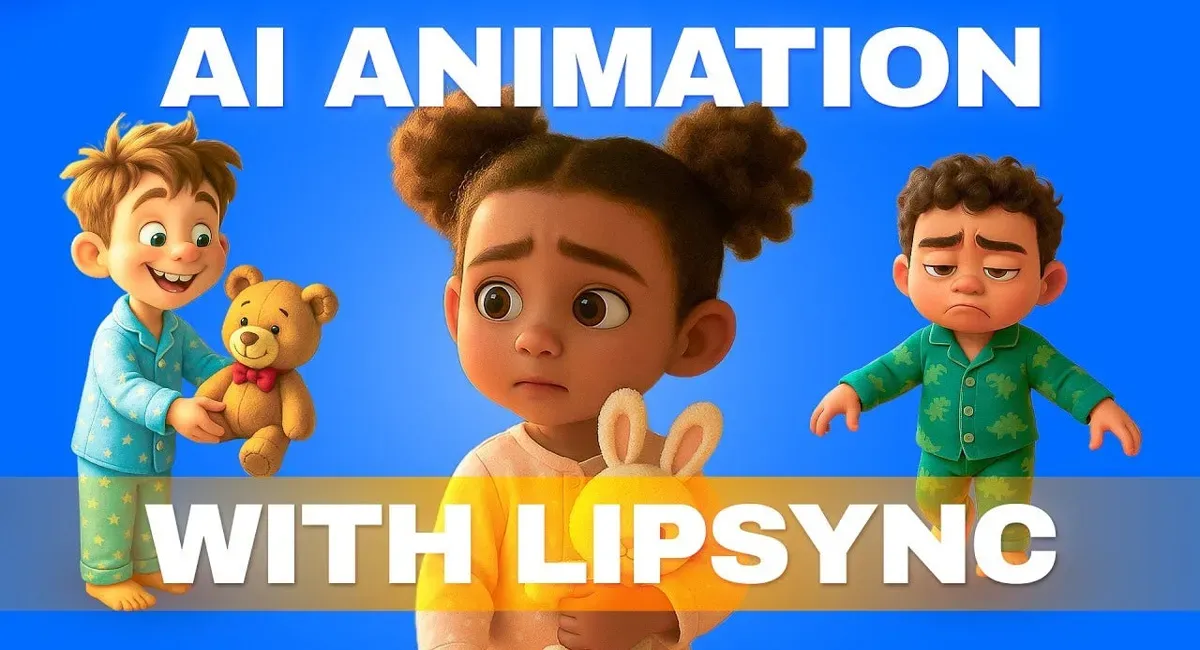
How You Can Create and Monetize Animations Using AI For FREE
STEP BY STEP GUIDE (100% Free Methods)

I found an easy and free way to create and sell animated stories.
Yes, it is possible using ChatGPT and other free AI.
And the best part, the steps are pretty straightforward.
You can now make funny animated stories without spending a lot of money or using complicated tools.
(This is not a line from an ad; you really can make it happen if you implement the steps I mentioned in this post.)
Bonus: I will share my special prompts and even the step-by-step guide on how to set up everything totally free.
This will save you time and take the pressure off.
Before we start, I want to explain to you everything briefly.
So basically, we will create animated AI videos using different AI tools.
Starting from ChatGPT for script writing and image generation to using different video and voice generation tools (absolutely for free).
Finally, we will use CapCut for video editing.
Then I will tell you how and where you can monetize these animated videos.
If you are excited, let's get started.
What will we cover?
Here’s what we’ll cover today, step by step:
- How do I write my script?
- How do I generate images?
- How do I animate the images?
- How do I make the characters lip sync?
- How do I create a voiceover?
- How do I finalize my video?
- How do I publish and make money?
Sounds fun? Let’s get started.
Step 1: Creating the Characters, Prompts, and the Script
Let's start with creating characters, and then we will generate the script.
Characters and Prompts
First, go to ChatGPT.
Then open GPTs (an icon with four dots).

Next, search for Animation Script Builder GPT.

Start a new chat with this GPT.
Now, you can explain what kind of project you’re working on.
If you already have a script, you can paste the whole thing there or just describe your idea in detail.
For me, I’m just going to write a short description:
“Write a 3D cartoon animation script about a mom and her son Liam. The mom tells Liam not to eat breakfast until he brushes his teeth.”
My idea is very simple and not very detailed.
Upon getting the prompt, it asks me some questions to better understand what I want.

Now it started by creating the characters.
It even created a description for the boy and another description for the mom.

That’s the first step.
Next, I’m going to say write the script for each scene.
Generating Script

As you can see, it has broken down scene one into shots.
For each shot, it includes:
- A bit of narration
- A description of the shot
- A text-to-image prompt
- An image-to-video prompt
Everything you need from scene ideas and visuals to animation prompts is all organized in one place.
It’s all done for you.
And that’s what makes this Custom GPT so helpful.
Step 2: Generate Scenes
This is the time to keep things moving.
In this step, we will generate images using the prompts that we mentioned above.
So, what I did was simply copy the first prompt from the scenes and asked ChatGPT to generate the image.
Take a look at this. This is the first image it generated.

Then I’ll continue creating images for scenes 2, 3, 4, and so on.
Sometimes, the character design might lose consistency.
If that happens, there’s a simple fix.
Just reupload the character’s image and copy the prompt for the scene.
Add your character’s image as a reference so ChatGPT clearly remembers what they look like.
Tip: Use Artistly AI to create unlimited images
Step 3: Animate the scenes
To animate the scenes, you need an AI generation tool.
In this case, we need Kling AI.
Open Kling AI and create an account.
Next, upload the image you got from ChatGPT.

You need to add a prompt for Kling AI.
Luckily, we already have everything we need for scene one.
I mean, Animation Script Builder GPT has already provided the video prompts, too.
Copy and paste the prompts to Kling AI.
Then generate the first scene.
Next, go ahead and do the same for each scene.
Here are just a few examples:

I wish I could show you the generated videos, but Medium does not support video uploads. The other thing is that I could upload this small clip to YouTube, then I could embed it here. But sorry, I didn’t do that as I believe you could see the preview while you do it on your own.
Step 4: Character's Lip Sync
We need to handle the lip syncing for the scenes that include dialogue.
You can still do that using Kling AI.
It’s not perfect most of the time, but you can still use it (in case you don’t want to switch to other tools).

To do that, just use the ‘Lip Sync’ feature inside Kling AI.
You’ll find two options for lip synchronizing:
- Text to speech.
- Upload local dubbing.
Go with ‘Text to Speech’ if you want Kling AI to generate a voiceover from texts.

Select ‘Upload Local Dubbing’ to upload your own recorded voiceover or dialogue file.
Once you finish setting everything up according to your scene, just click generate.
Error Handling
I noticed that in my video, the mother’s lips were still moving even though the dialogue had ended.
To resolve it, I will use another tool.
Let’s Pixverse AI.
Pixverse is really good at animating stylized images and also handles lip sync very well.
They give you 60 credits each day.
Once you are in Pixverse AI, just upload the image from ChatGPT.
In the description box, just paste the prompt.

Then, generate by clicking on the create button.
Once the video is ready, click on ‘Speech’ to add the voiceover and do the lip sync.

You can either upload your own voiceover file or generate a new one in Pixverse AI.

Just enter the dialogue of the lady from the script and select a suitable voice from the different choices.

Once you generate the video with voiceover, you can observe which AI tool did better: Kling AI or Pixverse AI.
In my example, Pixverse was perfect at lip sync.
Step 5: Create a Voice Over For the Narrator
Now you have voiceovers for the characters of the Kling AI or the Pixverse AI.
But you also need a third-person voiceover for the narrator.
I use ElevanLabs. This is one of my favorite voice generation tools.

Paste the dialogue we got from ChatGPT into ElevenLabs Instant Speech.
Choose the right deep voice for the narration, and then generate the voice.
When you are satisfied with the voiceover, download it.
Step 6: Combination and Production
The sixth step is to combine all the clips and edit them with a tool.
If you really want good attention from people, then you need to present it to them with proper visuals, sound, and story.
To do this, I recommend using the CapCut app.

It is one of the best free video editing tools available.
The best part is that it is beginner-friendly and powerful.
I promise you can learn about the tool if you watch one or two tutorials on YouTube.
Make some cuts and sync the voiceover and video together.
Next, add captions using the AutoCaption feature.
CapCut will automatically transcribe the voiceover and sync the captions with your video.
The last part is to add the background music.
I would recommend you to use Suno AI to generate free background music for your animated videos.
Once everything is in place and you’re happy with the edit, export the video.
Boom!!
Now you have made a studio-style animation story for free.
Final Step: Publishing and Monetizing
The last step is to publish these stories and make money from them.
You can publish these stories as YouTube Shorts and Instagram Reels.
But I would recommend that you focus on just one platform when you are starting out.
Start with YouTube.
These kinds of videos get millions of views on YouTube.
And if you are consistent, you can easily enroll in the Partner Program and start making money from it.
Here is a YouTube channel that has 100% AI videos (somewhat similar to what we are doing) but is making a lot of money every month:

The YouTube Partner Program is not the only way you can make money.
You can start doing affiliate marketing.
If you go to platforms like WarriorPlus or JVZoo, you will find hundreds of children’s stories or animation products to sell as an affiliate.
You can also create your own digital products, such as children’s animated storybooks, and sell them through your YouTube channel.
Even if you have 100 subscribers, you can still make money from it.
I did it, so I say it.
I made over $5000 from less than $500 just from affiliate marketing.
So you can do it too. I believe in you.
Use ChatGPT's MCP integrations feature to do this in automation.